Introduction
This guide explains how to set up a Google Analytics Account and Tracking ID so you can track and analyse visits to your site. This will allow you to improve SEO and conversions.
Requirements
A Google Account without an associated Google Analytics Account. Make sure that the account is appropriate for the purpose (e.g. a business account instead of a personal one).
If you already have a Google Analytics Account, see How to set up a Google Analytics Tracking ID instead.
Skill Level
Basic knowledge of browsers.
Instructions
Time needed: 5 minutes.
- Go to the Google Analytics site.
Go to https://analytics.google.com/.
If you’re not already logged in, enter the email or phone number associated with your Google Account, click Next, then enter your password and click Next.
- Start the set up of Google Analytics.
If this is the first time you’ve used Google Analytics with your account, click Set up for free.
If it’s not the first time, see How to set up a Google Analytics Tracking ID instead.
- Complete the Account setup step.
In the Account name field enter an account name for your reference. A single Google Analytics Account can be used to track multiple sites and apps (called Properties in Google Analytics).
Tick or untick the Account Data Sharing Settings. Make sure that the options meet the legal requirements of the sites and apps you’re tracking. If you’re not sure, untick all the tick boxes (you can change them later).
Click Next.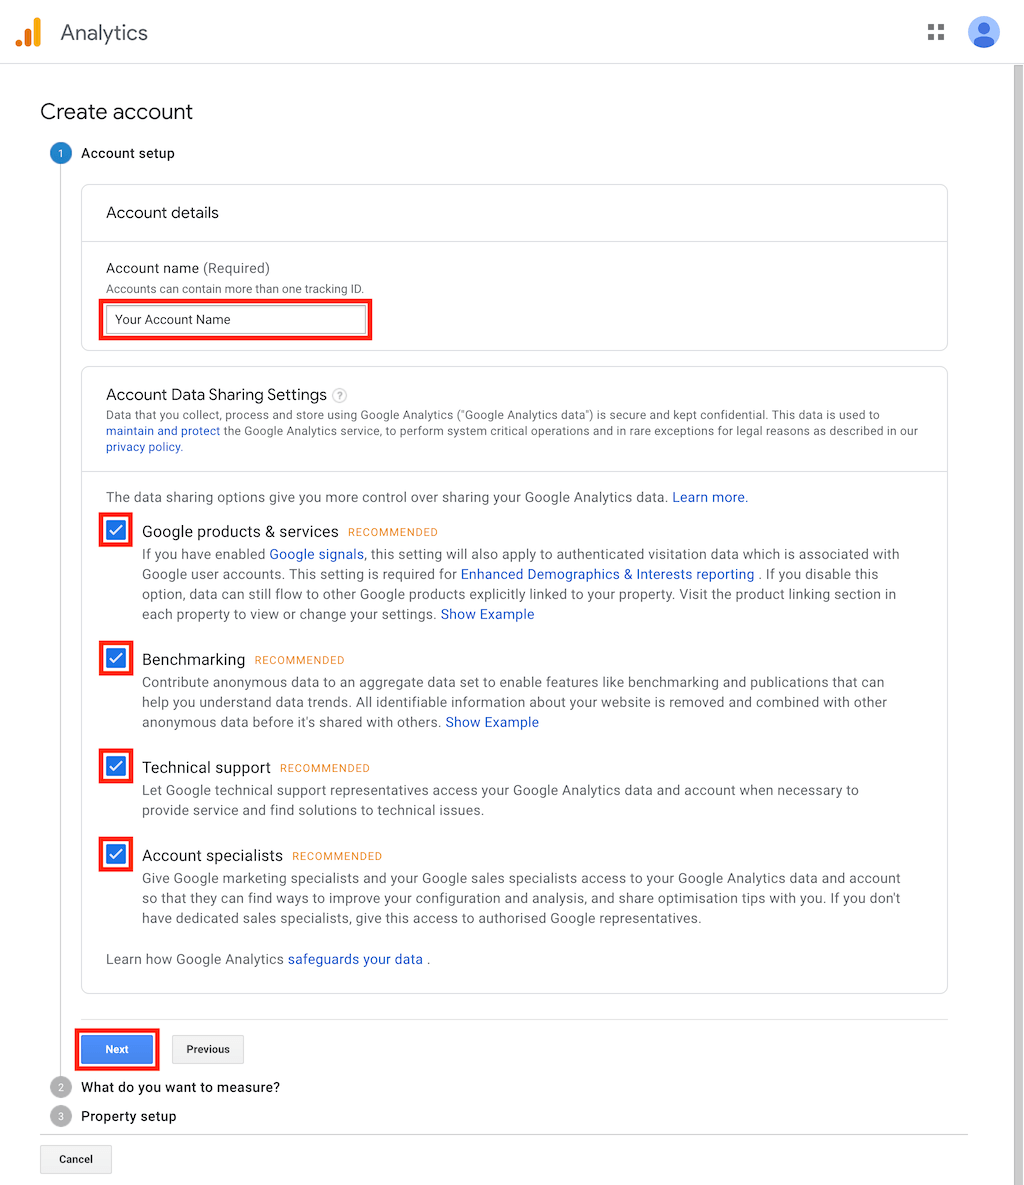
- Complete the What do you want to measure? step.
This relates to the individual Property (site or app or both) you want to track. You can add more Properties to the Account later.
Select the appropriate option and click Next.
- Complete the Property setup step.
Fill in the Website Name, Website URL, Industry Category and Reporting Time Zone fields and click Create.

- Review and accept the Terms of Service.
If prompted, tick the I also accept the Data Processing Terms as required by GDPR. and I accept the Measurement Controller-Controller Data Protection Terms for the data that I share with Google. tick boxes and click I Accept.
- Update your email communication preferences.
If prompted, tick or untick the My email communications tick boxes and click Save.

- Open the Admin menu.
At the bottom of the left column, click Admin.

- Go to Tracking Info.
In the Property column, click Tracking Info then Tracking Code.

- Make a note of the Tracking ID and Tag.
Make a note of the Tracking ID value starting UA-..., and the Global Site Tag code snippet. You can use these to set up Google Analytics on your site or app.
If you don’t make a note of them, you can always find them again by going to Tracking info > Tracking Code for the relevant Property in Google Analytics Admin.
More Info
Google guide to Get Started with Analytics: https://support.google.com/analytics/answer/1008015
Next Steps
Now you’ve set up a Google Analytics Account and Tracking ID, you should apply it to your Magento or WordPress site. See How to add Google Analytics to Magento or How to add Google Tag Manager to WordPress.